Google has a 200+ ranking factor when it comes to ranking countless websites seen on the Internet.
Optimizing all images on a website for search engines is currently an important factor in ranking websites on Google and other search engines.
Think about the last time you uploaded a picture to your website. Maybe you downloaded it from a stock photography site, later uploaded it through your site’s media manager, and then added it to your post.
Maybe you added an image whose size, or weight is too high. Because of that, the speed of loading pages on your website is slowing down.
SEO optimization of a photo can be done in many ways. You need to know, in some way and how to optimize the image correctly. In this way, your website will not slow down, and search engines will prefer to crawl your website. Today we will know how to optimize the image correctly.
1. Selecting the correct format of the image
We all add at least one photo to a post. There can be many formats of pictures. Among them are JPEG, WebP, and PNG.
Now we will try to know, what kind of image format will be appropriate and useful for our post image, and what kind of image format should be used for a particular type of work.
JPEG: This format is most commonly used. This format uses the lowest size files to get the highest quality image pictures. It can be said that it maintains a balance between file size and image quality.
PNG: In this format, you get good quality images, but the images in these formats produce a larger sized image than the JPEG files. This size of PNG format will not be useful in some cases for image optimization.
WebP: WebP is a modern image format for the web, which uses Lossless and Lossy compression of the highest value. Using WebP format, webmasters and web developers can get high quality images through smaller images, which helps web pages load faster.
WebP format images are 20% smaller than PNG formats and capable of rendering lossless images. And, the SSIM Quality Index says, Lossy images in WebP format are 25-34% smaller than JPEG images, but, in the qualitative sense, no less than JPEG images.
If you have a large-size photograph taken by a photographer, use JPEG or WebP format. However, in all areas where web design requires transparent images, use PNG images.
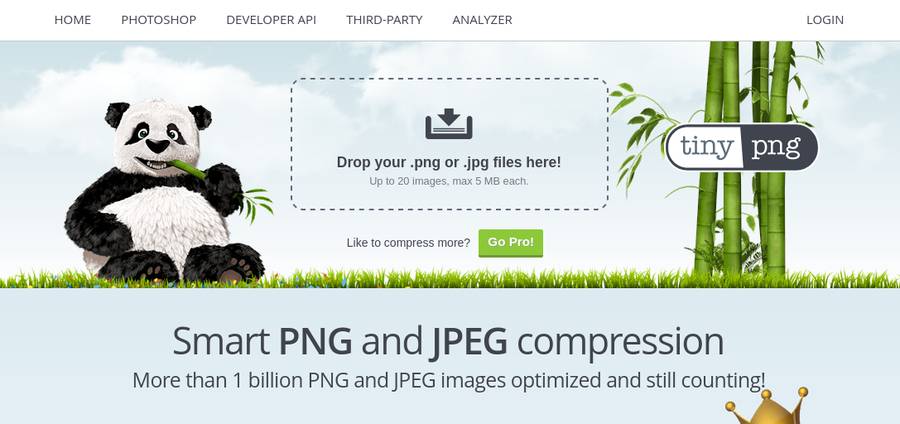
2. Compress your images
According to the HTTP Archive, after uploading an image that is not compressed, your website’s weight increases by more than 20%. Are you surprised? Surprisingly, it’s true that you have to use different tools for optimizing WordPress images. For example
If you want your webpage to load faster even after adding the image with the post, in my opinion, use the Smush plugin. This will reduce the size of the image file by compressing your image size seamlessly.
This plugin also comes with a Lazy-load script. This script allows all images on the page to be loaded while a page is being loaded. The user’s display only shows the image on the visible part of the screen. Due to this technique of the Lazy-load script, the requested page is visible very quickly to the user. As the user scrolls down, the images in that section of the page gradually become visible.
If you can optimize all image sizes on a webpage using a plugin, or a third-party tool, you can get very good results on your website’s speed rating on a Site Analyzer website, like Google Page Insights, or GTmetrix.
A website may use images of various formats like JPG, PNG, WebP, etc. Compress and optimize the images before uploading them to the website. You can read more about the Image Optimization Tools available offline and online in another post.
3. Create a unique graphic with the image
Nowadays, when searching for images, everyone gets help from search engines. Then, you download the picture and add it to the post, without any scrutiny.
Because of this, however, your website may degrade from search engine rankings day by day.
To avoid this catastrophe, download interesting pictures and make them attractive graphics with any photo retouch software. Then, optimize this modified image and use it as a featured image with your post.
4. Beware of copyright laws
Be sure to select the image files you want to use, and make sure that there are no copyright disputes. If under copyright, beware of using that image, or else, avoid the image.
5. Customize the image file names
In the case of SEO, it’s very important to create a filename with a descriptive, keyword-rich word. Use the SEO-friendly filename to change the name of the image file when you download it to help search engines understand your image and improve your SEO quality.
6. Write SEO-Friendly Alt Text
<img src="chocolate.jpg" alt="chocolate" />
“Alt” tags are seen in the HTML source of the webpage, and it helps both the user and the search engine.
For SEO quality, you must use the Alt tag in your image. Remember, alt tags can never be used for keyword stuffing.
7. Think about the image file structure
In 2018, Google updated its image structure algorithm. Google is updating its algorithms multiple times every year.
One of the main updates they release is that they use file paths and filenames to determine the image’s ranking.
8. Enter the title and description of your page
When a user comes to Google and searches for images, how can Google show the most matching images to users based on the search phrase they use?
When Google creates an image index, it creates a title and snippet for the image. Google builds this index with the help of titles, descriptions, and meta tags.
All of your basic on-page SEO elements, such as metadata, title tags, structured data, etc. affect how Google ranks your image.
9. Determine the dimension of the image
If you use AMP or PWA, you need to define the dimension of your image in your source code.
However, if you have not used one, practice it to determine the width and height. Setting the image dimensions provides a good user experience.
10. Make your images mobile-friendly

For the images, you use for your webpage, make sure that the images must be displayed in a responsive format for different devices.
This means that if the user is using a desktop or mobile, the image can automatically adjust to the size of the site itself. It can be automatically adjusted to the size of the device.
11. Add images to your Sitemap
If you add your images to a Sitemap, search engines greatly increase the likelihood of crawling and indexing your images.
As a result, you can get a lot of site traffic from an image search on Google. It is important to have a sitemap for good results in search engines.
Leave Your Comment