
Most of the world’s web servers run on the Linux operating system. To use a popular Linux-based web server with a variety of popular content management systems, such as WordPress, Joomla!, Drupal, etc., you need to install a web server, a database server, and a PHP server. This type of server is called LAMP. LAMP stands for Linux, Apache, MySQL, and PHP.
In this tutorial, I have shown you how to install a LAMP stack on a CentOS 7 server. This tutorial installs the default package of LAMP where the PHP 5.6 version is installed. In a future post, I hope to show, how to install the updated 7.2+ version of PHP.
I have given the voice of this video tutorial in Bengali. However, since all the commands of the terminal are in English, it will not be difficult for the readers to understand, hopefully. I will attach English subtitles later.
Prerequisites
- Access to a user account with sudo or root privileges
- A terminal window or command line
- The yum and RPM package managers, included by default
Step 1: Update Package Repository Cache
Before you start building the stack, be sure to update the packages on your CentOS 7 server using the command:
sudo yum update
Step 2: Install the Apache web server
As you already have a CentOS operating system running, the first step of assembling the LAMP stack is to install the web server. The simplest way to install Apache is through CentOS’s native package manager, yum.
Install Apache on CentOS with:
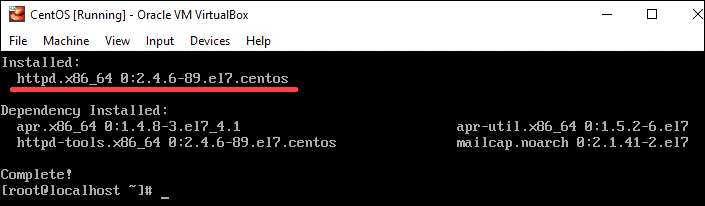
sudo yum install httpd
When prompted, confirm that you are executing the command with sudo privileges.
The output will show the package httpd package was installed as in the image below:
Next, start Apache by running the following command:
sudo systemctl start httpd.service
If a firewall is enabled, you need to open a route for HTTP traffic. Use the command:
sudo firewall-cmd --permanent --zone=public --add-service=http
Follow the command to open it for HTTPS traffic:
sudo firewall-cmd --permanent --zone=public --add-service=https
Finally, restart the firewall to enable the new settings:
sudo firewall-cmd --reload
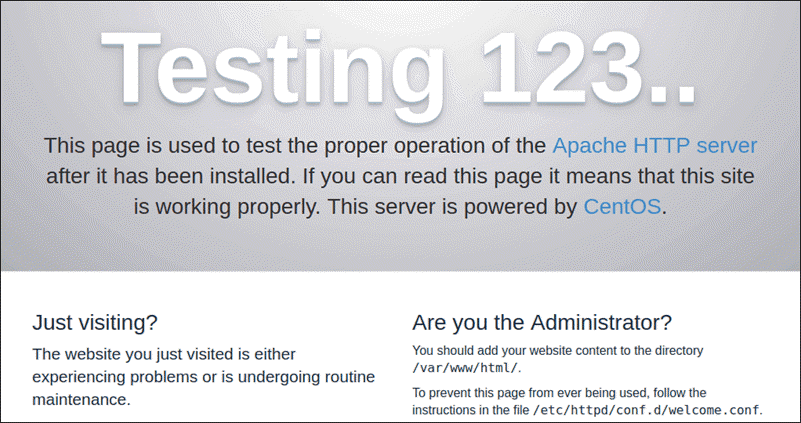
Check whether the service is running by going to your server’s public IP address. The browser should display the test CentOS 7 Apache web page:
Finally, set up Apache to start at boot:
sudo systemctl enable httpd.service
Step 3: Install MySQL (MariaDB) and Create a Database
To organize and store data for your dynamic website, you need MariaDB. This is an open-source fork of the MySQL database management system. It is a backward-compatible and binary drop-in replacement for the original MySQL.
Install MariaDB with the command:
sudo yum install mariadb-server mariadb
When a y/n prompt appears, confirm with y.
Now start MariaDB using the command:
sudo systemctl start mariadb
Step 4: Run MySQL security script
MariaDB does not have secure settings by default. Therefore, you need to configure settings, test the database, and remove anonymous users.
Setup MySQL Security by typing the command:
sudo mysql_secure_installation
You will be prompted to provide your MariaDB root password (this is NOT the root password for your server). As you do not have a password yet, pressing Enter allows you to continue the configuration.
Next, it will ask you a series of queries. To ensure your database is protected, answer the questions as follows:
Set root password? [y/n] Y
New password: Type in a password you would like to use
Re-enter new password: Retype the password from the previous field
Remove anonymous users? [y/n] Y
Disallow root login remotely? [y/n] Y
Remove test database and access to it? [y/n] Y
Reload privilege tables now? [y/n] Y
After answering the questions, the output will display a message that your system is cleaning up, and the installation should now be secure.

Lastly, enable MariaDB to start up when you boot the system:
sudo systemctl enable mariadb.service
sudo systemctl status mariadb
Following with the command to open it for mysql traffic:
sudo firewall-cmd --permanent --zone=public --add-service=mysql
Finally, restart the firewall to enable the new settings:
sudo firewall-cmd --reload
MySQL login from the local server
mysql -u root -p
Enter the root password when prompted, and you will be presented with the MariaDB shell.
Remote access to MySQL from a remote IP
mysql -u root -p
Enter password:
mysql>GRANT ALL ON . to root@'192.168.0.102' IDENTIFIED BY 'root';
mysql>FLUSH PRIVILEGES;
mysql>exit
Step 5: Install PHP
As a server-side scripting language, PHP is part of the LAMP grouping that processes the code for showing dynamic content. Once it is connected with the MySQL database, PHP will be retrieving information and process it for the Apache web server to display.
Install the MySQL extension along with PHP, again using the yum package installer, with the command:
sudo yum install php php-mysql
Now you should get a Y/n prompt allowing you to confirm the installation. Press Y to confirm.
To have your Apache web server start co-working with PHP, restart the Apache server:
sudo systemctl restart httpd.service
Step 6: Test PHP processing
To locate and serve the website, Apache must save the file to the web root. Apache places its default website in this directory: /var/www/html/
By using your favorite editor (I used nano editor), you can go into this directory and run a test of PHP on the CentOS 7 server.
To install the editor, use this command:
sudo yum install nano
Use a basic PHP script to make an info.php file, with the command:
sudo nano /var/www/html/info.php
This opens a blank text file in which you should copy and paste the following:
<?php
// Show all information, defaults to INFO_ALL
phpinfo();
?>
Hold CTRL+X (to exit) and Y and Enter (to save changes, and close the file).
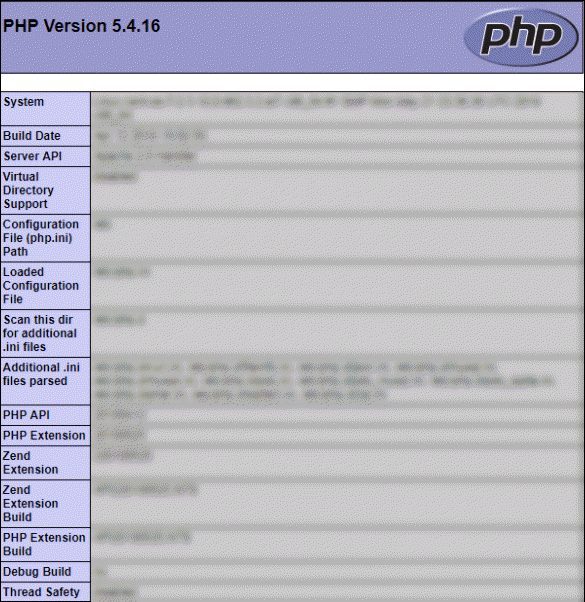
Check whether PHP is working by visiting the following URL:
http://ip_address/info.php
The ip_address should be the public IP address of your server. If PHP is set up correctly you will see this image on the browser:
Step 7: Install PHP Modules
To optimize PHP’s capabilities, look at the names and descriptions of optional modules with the command:
yum search php-
To get detailed, plain-language information about what each module does, view a longer description with: yum info followed by a space and the module name.
Install an optional package with sudo yum install followed by a space and the module name.
Step 8: Restart Apache
For the changes to take effect, restart the Apache service with the command:
sudo systemctl restart apache2
Conclusion
By following this guide, you learned how to install each layer of the LAMP stack on CentOS. Now you are ready to explore all the innovations the LAMP stack makes possible.
Note: If you need to install the following services, then installation will be different which I shall cover in a separate post:
- MySQL Server 5.6.47
- PHP version 7.2
Leave Your Comment