
At present, all hosting companies offer SSL (Secure Sockets Layer) free with almost all types of hosting packages. However, people who use Virtual Private Server (VPS) to host their own websites need to have SSL installed separately for their servers.
But how do I issue and install an SSL Certificate on localhost? How can HTTPS work with localhost? In this short tutorial, we will try to do just that.
Laragon will save our backs
With Laragon you can easily create localhost on a Windows machine. Those who are accustomed to using XAMPP or WAMP can easily find fun in Laragon. Some of the great features of Laragon are that it has a portable version, it can be installed even with multiple PHP versions installed, and much more.
One of these features is Auto Virtual Hosts. We have created virtual hosts manually by XAMPP or WAMP. It can also be done in Laragon. However, if you turn on Auto Virtual Hosts in Laravel, it will automatically create a virtual host named "{name}.dev“, under each directory, you find in the www directory. He will even edit the “hosts” file.
Step 1: Go to Laragan’s Settings page
Once the Laragon is installed, click the gear wheel icon in the upper right to go to its settings page.

Step 2: Activate Auto Virtual Host

At this point, I’ve made a “{name}.local“, so let’s say, the URL in my wordpress\ directory is http://wordpress.local. You can either set something as you like or, leave the default one. When launching Auto Virtual Hosts, press Yes to allow any permissions in Windows. These Auto Virtual Hosts automatically edit your “hosts” file. You no longer need to write the “hosts” file.
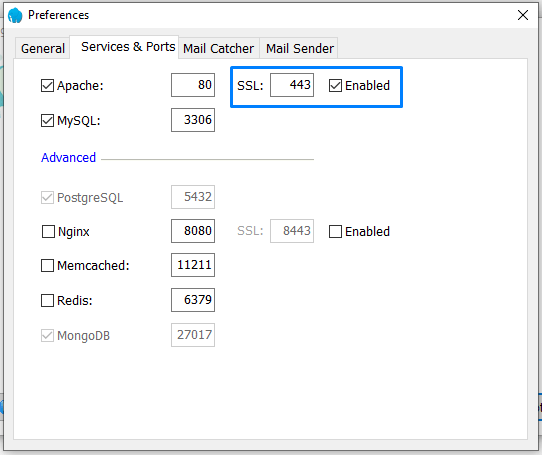
Step 1: Activate the SSL port
Open the 443 port for SSL from the “Services and Ports” tab above.
Step 4: Reload Apache
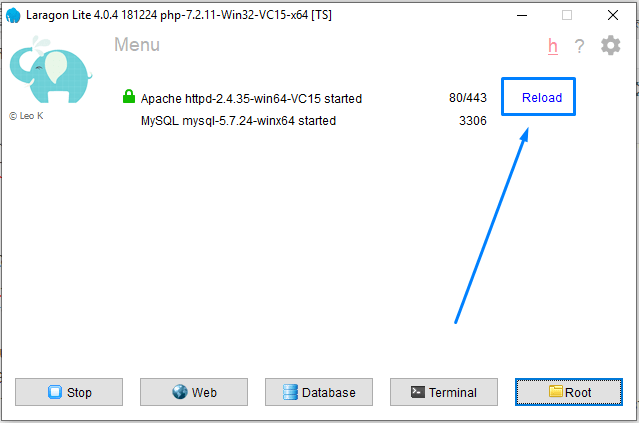
Close the setting window and reload the Apache service by clicking the Reload button next to the Apache service.
Well, everything is ready to work with SSL on Localhost. You can now open the http://wordpress.local site with https://wordpress.local. (If your software has a path issue, there may be http:// instead of https://), and it’s a valid browser certificate, which you can verify by clicking on the padlock icon.
What Did We Just Do?
In the case of Laragon, virtual hosts are created inside the laragon\etc\apache2\sites-enabled\ directory. Here you can find the host file that was automatically created for your wordpress directory: auto.wordpress.local.conf. When you open this file in a text editor or with Notepad, you will see two declarations:
<VirtualHost *:80> - This is for HTTP
<VirtualHost *:443> - This is for HTTPS
And see the example of using Laragan’s SSL certificate below:
SSLEngine on
SSLCertificateFile C:/laragon/etc/ssl/laragon.crt
SSLCertificateKeyFile C:/laragon/etc/ssl/laragon.key
Enjoy HTTPS with Valid SSL Certificate at Localhost with Laragon and make your development livelier and more realistic.
Leave Your Comment